In our holiday DIY series, we've covered how to pair classy yet impactful fonts and images in holiday ads and how to design a holiday hero background. You may also want to add a button on your Wix hero to highlight a sale or give a clear call to action. Here are step-by-step instructions.

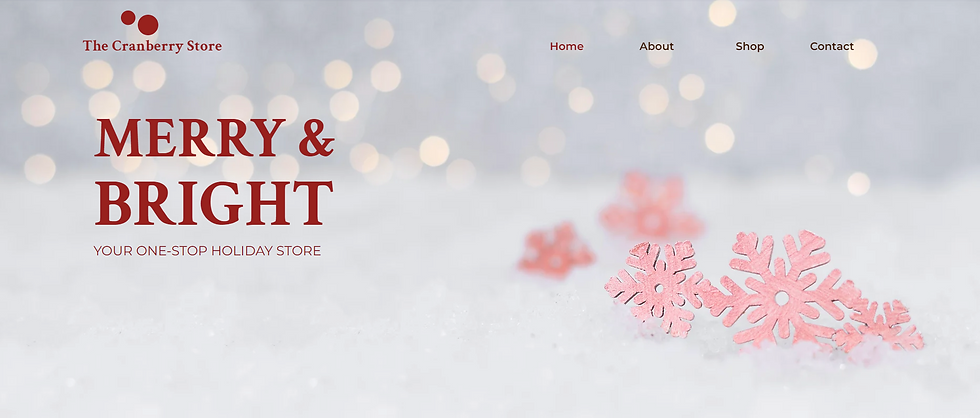
The screenshot above looks a little empty. Let's add a button linking to our store page.

In the Wix Editor, click on the plus sign (Add Element) under the Wix logo on the lefthand menu.
In the menu that appears, scroll to Button (the second option). If you've set up a color scheme, you should see some themed buttons that match the colors of your site.
Pick a themed button and drag it onto your page.
Drag it until it's aligned with your other elements (in this case, the heading, text, and button are all left-aligned).
Note: In this particular hero design, I'm using a split screen strip layout so my text is to the left of my screen. The background image strip, however, is stretched across the screen and into the header.

When I preview the page, I don't like the orange that appears on hover. So, I'm going to change a few design elements on the button:
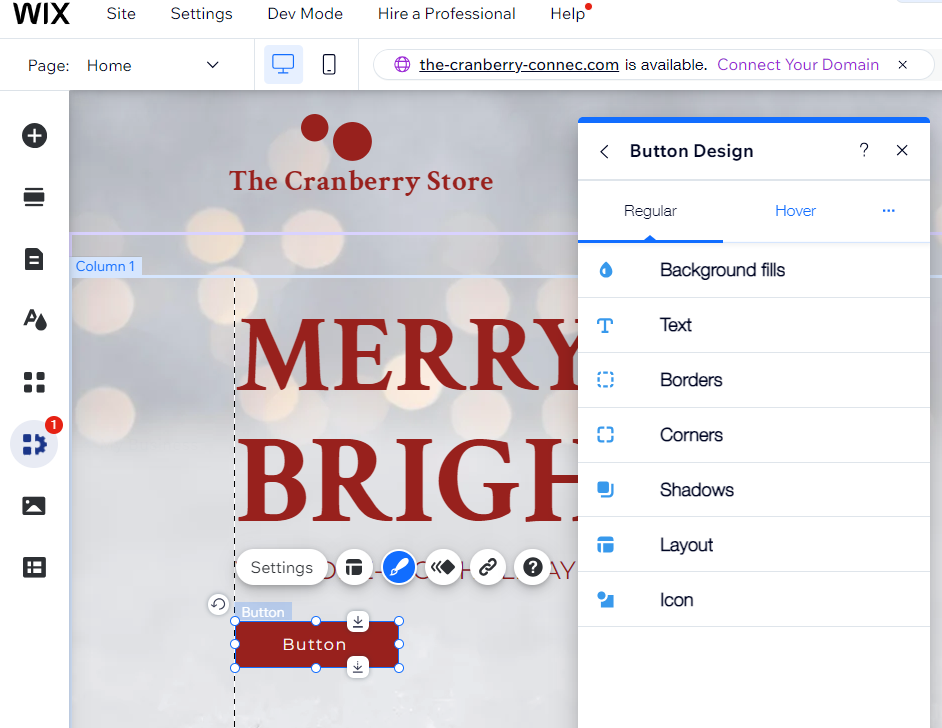
Mouse over your button and click the paint brush (when you hover, this option says Design).
Click on Customize Design in the box that appears.
Click on Hover to change the background fill on hover.
Click the color (that says customize fill on hover) and choose an existing color swatch or add a new one. I'm also going to change the Text option on hover to have more contrast with the pink background fill I choose.

I also don't want the button to just say Button, and I need to link it to my store. Let's do that next.

From the box that appears when I hover over the button, click on Settings
In the Button Settings box that appears, change the text to say SHOP NOW.
Click on the link icon in a blue circle next to the text that says Choose a Link.
In the What do you want to link to? box that appears, Page is selected by default. Choose your store page in the dropdown menu under Which Page.

Done! I now have a color-coordinated button on my homepage hero that links to my store page. Come back later this month to learn how to add a catchy callout box to your hero advertising a sale or special event.


Commentaires